Real Estate Videos From Photos: How to Turn a Photo Set Into a Listing Video
You have the photos. The listing is live. What you do not have is a video, and the home is competing with others that already have one.
The good news: you can make a real estate video from photos in one sitting. About 8 to 15 good photos is enough. Put them in a clear order, add a voice or music, add captions, and export in the shape your platform needs. This guide shows each step, plus the limits you should know about.
Can you really make a real estate video from photos?
Yes. A photo video works well for a quick teaser, a social post or a listing that no one has filmed yet. It will not replace a live walkthrough, because a buyer cannot sense scale and flow from still images alone. Think of it as a fast, low-cost way to put motion and sound around the photos you already have.
Why photos-to-video works
Feeds reward movement. A still photo is easy to scroll past, but a short video with captions and a clear voice holds attention a little longer. You also reuse work you have already paid for, since the photographer has already delivered the set. For the bigger picture on why video helps listings, see this listing video marketing guide.
Where it does not work
Be honest about the weak spots:
- Dark or cramped photos. Motion makes flaws easier to see, not harder.
- Vacant rooms. Empty rooms look small and cold on video. Stage them first.
- Large estates. A handful of photos cannot show the grounds, the views or the layout. Here, a filmed walkthrough or drone clip is worth the cost.
- Buyers who need the floor plan. A photo video shows the look of a home. It does not explain how rooms connect.
How do you prepare your photos?
See it done with your own listing
Upload a few photos and let AI stage the room, cut the video, and voice it — start for $5, 500 studio credits, no subscription.
Preparation decides whether the final video looks polished or cheap. Spend ten minutes here and every later step gets easier.
Pick 8 to 15 strong photos
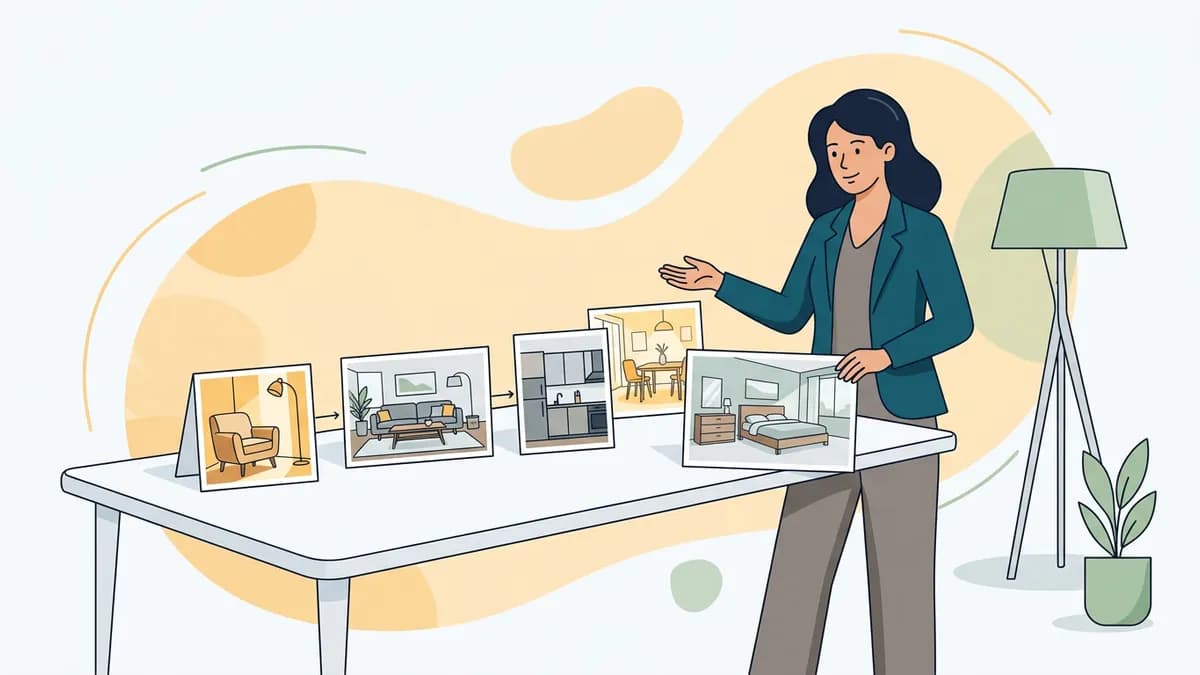
Choose one best shot per room. Start with the front exterior, then the main living space, kitchen, primary bedroom and bathroom, and finish with the yard or view. Drop near-duplicates and any photo with a distracting reflection or crooked lines.
Check the orientation
Landscape photos suit a horizontal video. For vertical output, wide photos get cropped on the sides, so leave breathing room around the main subject. If you plan to post to Reels, Shorts or TikTok, read our guide to vertical video for realtors before you choose your shots.
Declutter and stage first
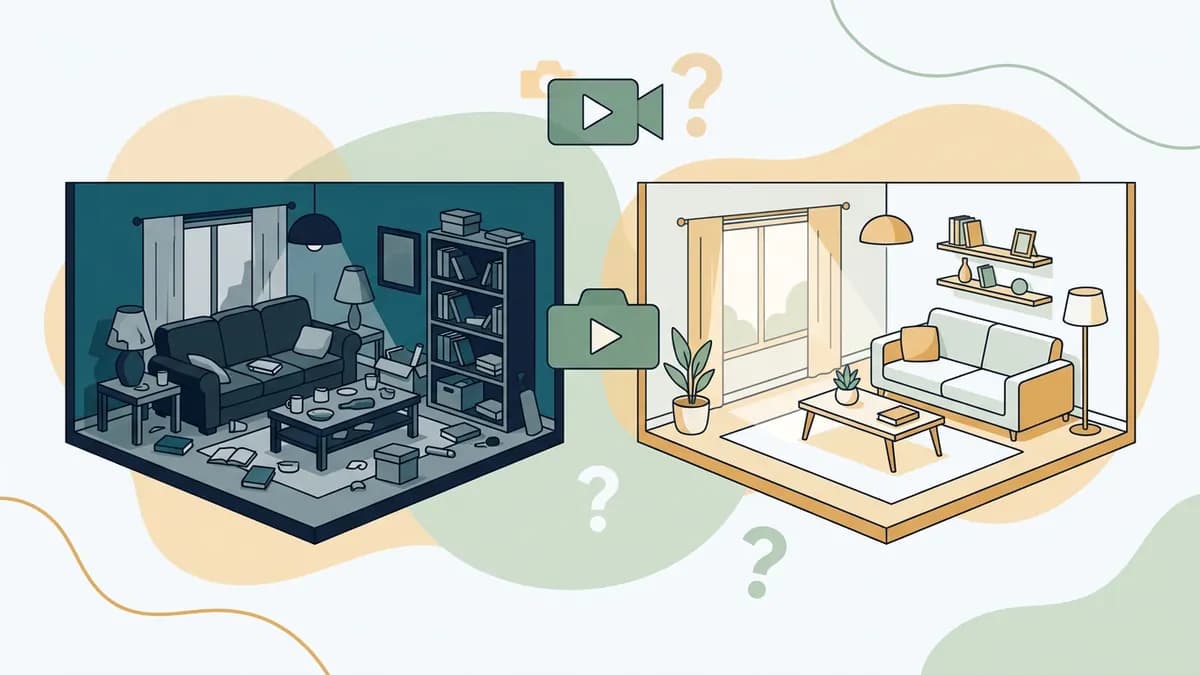
Remove what buyers should not see: cords, laundry, a parked car, personal photos. If a room is bare, add furniture digitally before you build the video. Our guide to digital decluttering before staging shows how to clean a room first. Then use virtual staging for real estate to furnish it in a style that fits the home.
Fix light gently
A small boost to exposure and color is fine. Heavy filters are not. The goal is a photo that looks like the room on a bright day, not a photo that looks edited.
How do you make the video, step by step?
The exact buttons differ by tool, but the workflow is the same everywhere.
Step 1: Start the project
Open your editor and create a new project. In ReelEstate, you can paste a listing URL to pull in the property facts and photos, or upload your own set. Either way, you end up with a grid of photos to choose from.
Step 2: Choose and order the photos
Select your 8 to 15 photos and arrange them like a real visit. Exterior first, then the entry, living areas, kitchen, bedrooms and bathrooms, then outdoor space. Do not jump between floors. Put your strongest two or three photos near the start, because those seconds decide whether someone keeps watching.
Step 3: Set the pace
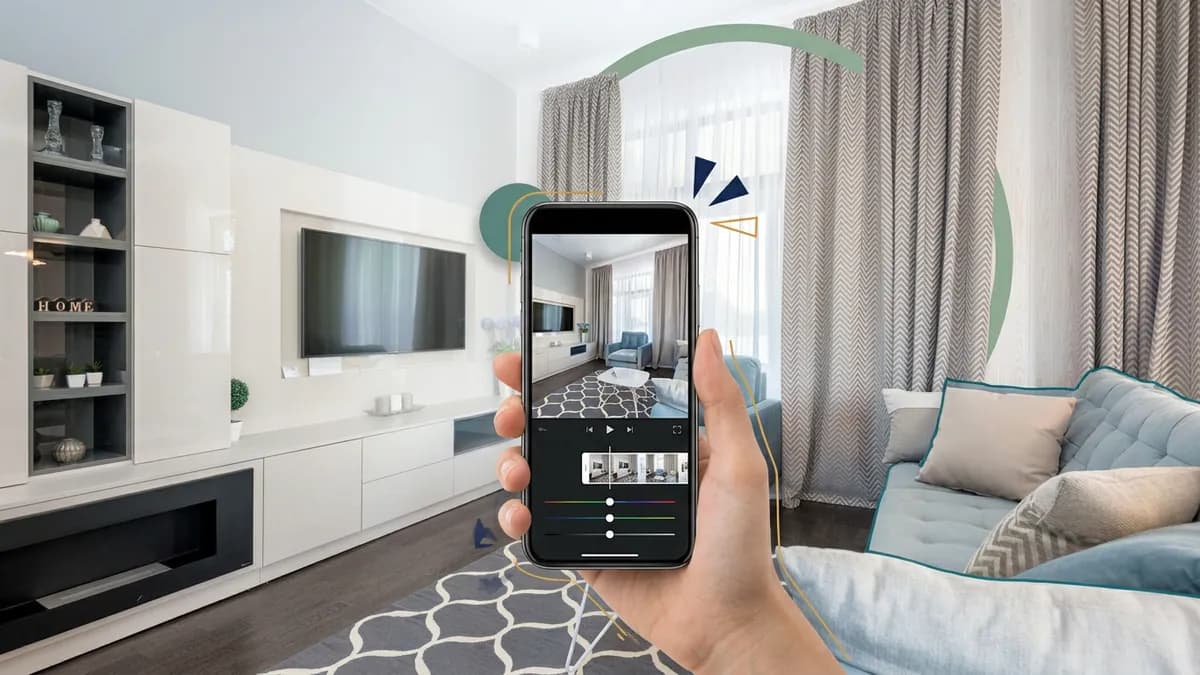
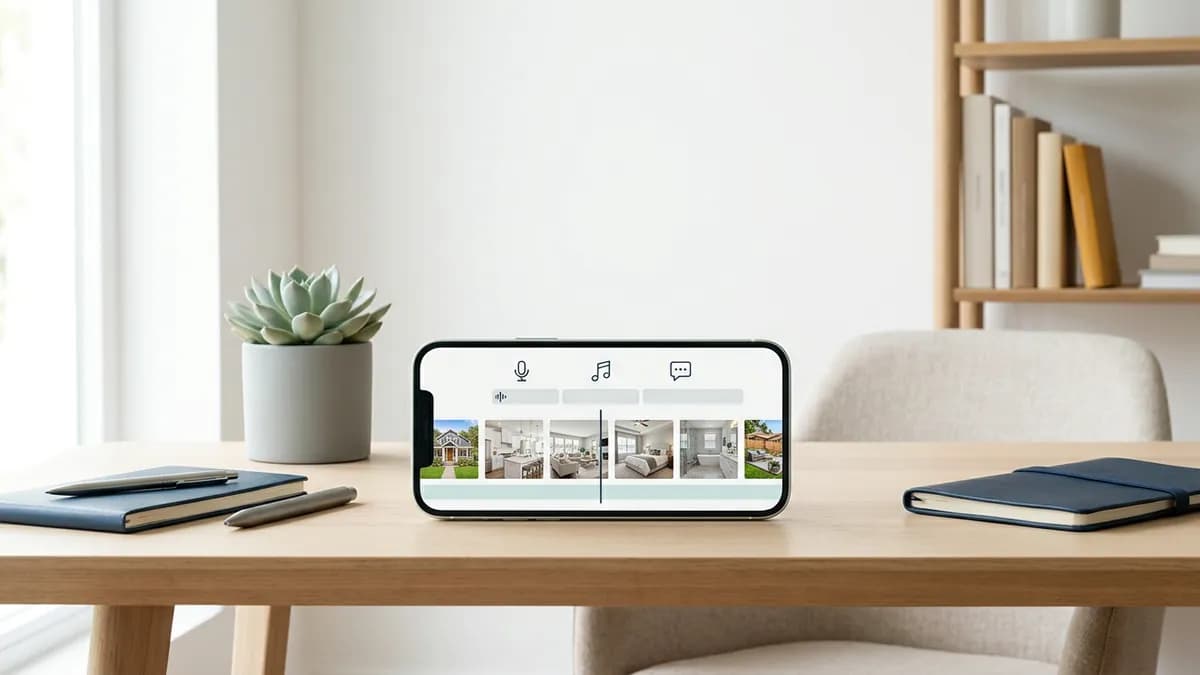
Give each photo a few seconds. Hold the best rooms a little longer and move quickly through the rest. Trim or reorder clips until the video feels like a steady walk, not a slideshow. A good timeline editor lets you drag clips into a new order, trim them and change the speed of each one.
Step 4: Add motion and transitions
Motion is what makes a photo video feel alive. Keep it gentle and consistent. A slow push toward the focal point works; a different effect on every photo does not. Whatever tool you use, review each moving shot carefully (see the limits below).
Step 5: Add your sound and words
Narration, music and captions come next. They get their own section below.
Step 6: Add branding and export
Add your logo and colors, and close with a short outro card with your headshot and contact details. Then export in the shape your platform needs.
How do you add voiceover, music and captions?
Sound and words turn a photo sequence into a story.
Write a short script first
Plan one sentence per room. Open with the hook, such as the neighborhood or the standout feature. Then name two or three selling points and end with a clear next step. Our property tour script templates give you wording to start from. Keep it plain and short.
Record it or generate it
You can record your own voice, which feels personal. If you would rather not, a generated voice can read the script for you. ReelEstate offers 16 voices, 10 tone options and 15 languages, and each voice can be previewed before you choose. Our guide to AI voiceover for real estate covers how to pick a voice that fits the home.
Choose music that supports the voice
Keep music instrumental and quiet. Match the mood to the home: warm and soft for a family house, light and modern for a downtown condo. If you use existing tracks, check the license, because platforms can mute or remove videos with unlicensed music. Some tools compose an original track for each video from a genre and tempo you choose, which avoids the license question. For ideas on style, read our music guide for real estate videos.
Add captions
Many people watch with the sound off, and captions also help viewers who are deaf or hard of hearing. Keep lines short and large enough to read on a phone. ReelEstate can create captions from the finished voiceover and highlight each word as it is spoken.
Should you export vertical or horizontal?
Choose by where the video will live.

- Vertical 9:16 for Instagram Reels, Facebook Reels, YouTube Shorts and TikTok. This fills a phone screen.
- Horizontal 16:9 for your website, a listing page and YouTube long-form.
If you need both, build one version in each shape instead of cropping one into the other. Cropping a horizontal video to vertical can cut off the room you want to show. Put your best shot in the first seconds of any vertical video. Photo videos work best at the shorter end of the range: around 30 to 60 seconds for social and up to about two minutes for a listing page.
When you are ready to build your own, pick a plan on the ReelEstate plans page.
What mistakes should you avoid?
Most weak photo videos fail in the same few ways.
- Too many photos. Twenty-five photos at two seconds each feels like a blur. Cut to the best shot per room.
- Random order. Jumping from the bathroom to the garden to the kitchen confuses viewers. Follow the path of a visit.
- Different effects on every photo. Pick one style of motion and stay with it.
- Unreadable text. Small captions and low contrast are useless on a phone.
- Loud music. If viewers have to strain to hear the voice, they leave.
- No label on staged rooms. Viewers should know which rooms are staged.
- Skipping the review. Watch the whole export before you post it, with the sound on and off.
What are the honest limits?
Photos-to-video tools are fast, but they are not magic.
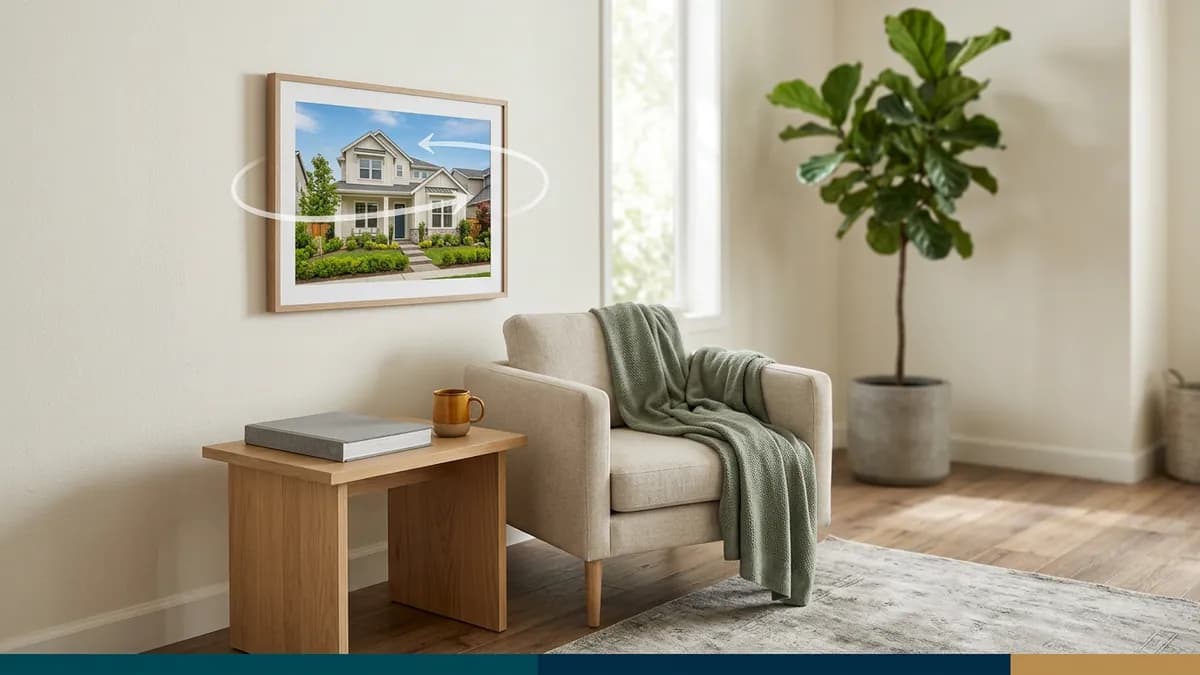
- Moving shots can warp. When software creates camera movement from a still image, straight lines can bend, objects can shift and details can appear that were never in the room. Watch every shot at full size. If something looks off, remove that shot or use a simpler move.
- It cannot show what the photos do not. A video built from photos shows only what was photographed. Do not imply a view, a room size or a feature that the photos do not support.
- Disclose edits. If you stage a room digitally, remove items or change the sky, say so where your MLS, brokerage or local rules require it. Even when it is not required, a short label is good practice. Keep the original photos on hand.
- Always review. You are responsible for what you publish. Treat the draft as a first cut, not a finished product.
For a deeper look at the editing side, including transitions, branding and export settings, read our real estate video editing guide.
Frequently Asked Questions
Can I make a real estate video from photos alone?
Yes. A set of 8 to 15 sharp, well-lit photos is enough for a short listing video. Put them in walking order, add a voiceover or music, and add captions so the video works with the sound off. A photo video will not feel like a live walkthrough, so use it for teasers, social posts and listings where no one has filmed the home.
How many photos do I need for a listing video?
Most listings work well with 8 to 15 photos. Fewer than that and the video ends before it tells the story of the home. More than that and viewers lose interest, because each photo only gets a few seconds. If you have 30 photos, pick the strongest shot of each room and save the rest for the listing page.
How long should a real estate video made from photos be?
Aim for roughly 30 to 60 seconds for social feeds and up to about two minutes for a listing page or website. Give each photo only a few seconds. Cut any shot that does not show a selling point. Check the rules of the site where you will upload, since limits vary.
Is there a free app that turns real estate photos into video?
Yes, several free apps and basic slideshow tools exist. They usually add limits such as watermarks, short exports or few features. Free tools are fine for a quick test. Before you rely on one, check whether it handles voiceover, captions, your logo and both vertical and horizontal exports, because those are what make a listing video look finished.
Do I have to disclose AI-edited or virtually staged photos?
In many places, yes, or at least you should. Rules differ by MLS, state or province, country and platform. A safe habit is to label staged images clearly and keep the original photos available. Check with your MLS or brokerage before you publish, because a buyer who feels misled is worse for your reputation than an empty room.
Why do some real estate photos look fake in a video?
Usually because of heavy editing. Over-bright windows, warped lines, odd colors and over-filtered skies stand out once the photo is in motion. Start with natural-looking photos, fix exposure gently, and review every second of the finished video. If a room looks wrong to you, it will look wrong to a buyer.