Real Estate Video Editing: How to Turn Raw Walks and Staged Photos Into Polished Reels
You shoot a quick walkthrough on your phone, but the vacant living room looks cold and the hallway is dim. Back at your desk, you spend hours cutting clips, syncing music and adding your logo. By the time you export, the listing has lost its first-week momentum.
Good editing does not need dual monitors or a film degree. It needs a clear order of shots, clean cuts, readable text and sound that helps instead of competes. This guide walks through each step, from raw clips to a video you can post.
How do you edit real estate videos to make them look professional?
Start with a clear order, steady shots and light branding. A professional edit follows the way a buyer would walk through the home, keeps cuts clean and adds only the text that helps. For the strategy around the edit, see this listing video marketing guide.
The Anatomy of a High-End Property Walkthrough
A strong tour opens with an eye-catching exterior, moves straight to the main living area and groups rooms by floor. If you have aerial clips, keep each one short so it sets the scene without slowing the story. The goal is to build an emotional pull before the buyer ever visits.
Why Traditional Video Editors Slow Agents Down
Desktop editors were built for filmmakers, so every task is manual. Staging a room, exporting the image and then animating it in another program adds steps that most agents do not have time for. Fewer tools between the photo and the finished video means fewer places for a project to stall.
Key Visual Standards for Premium Real Estate Brands
Place one small, semi-transparent logo in a corner and leave it there. Keep the music instrumental so it never fights the narration. Repeat the same fonts and colors on every listing so your videos look like they come from one brand.
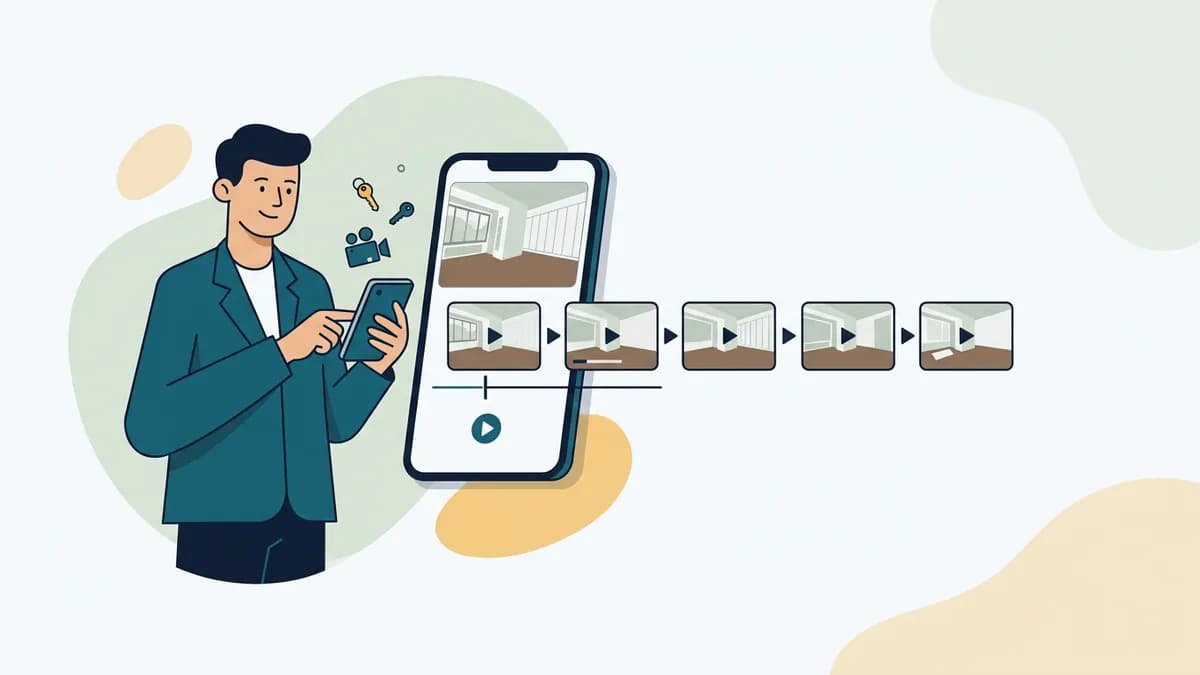
What is the best way to edit raw property footage into a walkthrough video?
See it done with your own listing
Upload a few photos and let AI stage the room, cut the video, and voice it — start for $5, 500 studio credits, no subscription.
Follow the path of a real visit. Start at the curb, flow through the main living spaces and finish in the backyard. This order keeps buyers oriented and makes the layout easy to remember.
Establishing a logical room-by-room sequence
Arrange your clips to guide viewers through the home. Begin with the entryway, move to the living room, then the kitchen and the primary suite. Avoid jumping between floors, because that disorients viewers. Prepare any photos you will mix in first. A photo editor built for listings can fix dim exposure and remove clutter before you start.
Selecting your video's hero shots first
Place your three strongest clips near the start of the timeline. This is the hook that earns the next few seconds of attention. If a room is empty, stage it before you edit. ReelEstate's Virtual Studio furnishes bare rooms, and our guide to virtual staging for real estate explains which styles suit which listings.
Techniques for smooth room-to-room transitions
Match the camera's speed and direction across cuts. If one clip ends with a rightward pan, begin the next room with a similar move. Doorframes make natural cut points and need no digital wipes. Plan your camera moves as you shoot, and the edit will almost cut itself.
How long should a real estate listing video be to maximize engagement?
Aim for about one to two minutes for a full home, and a shorter cut for social feeds. Longer is rarely better, because viewers decide quickly whether a video is worth their time.
Platform-Specific Durations and Upload Limits
Match the runtime to where the video will live. Social posts work best as a short teaser, while a full tour suits your website or a listing page. Many listing sites set their own file size and length limits, so check the rules before you export. Heavy compression from an oversized file can leave the picture soft.
Trimming Dead Time
Cut empty hallways, slow door openings and static corners. Start each shot already inside the room. Move on as soon as the room has made its point. A clean cut of the best rooms beats a long, wandering tour.
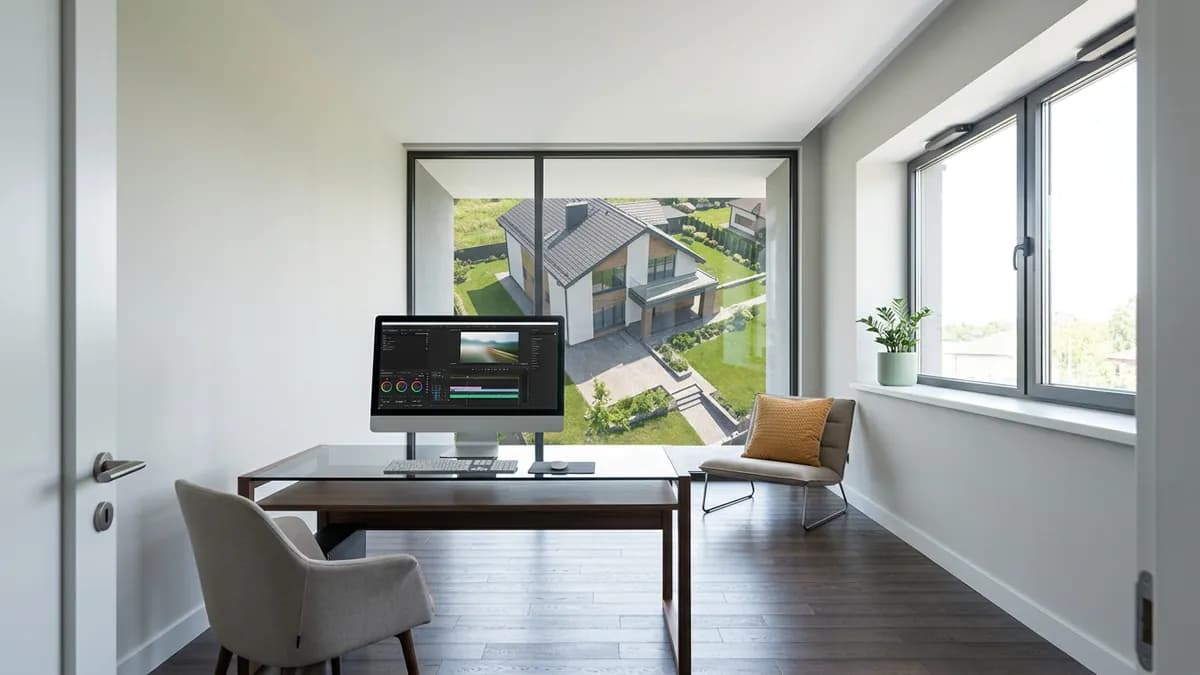
How do you edit drone footage into a real estate listing video?
Trim aerial clips while the camera is still moving, and match their color to your interior shots. This links the home's setting to its interior without a jarring jump.
Finding Trimming Points for Aerial Transitions
Cut aerial clips mid-motion. Start with a forward push over the roofline, then cut straight to the front entry. The movement carries the viewer's eye through the door.
Aligning Interior and Exterior Colors
Drone sensors often capture cooler, bluer light than your ground-level camera. Adjust the white balance so the aerial clips feel as warm as the rest of the tour. A consistent look makes the move indoors feel natural.
Adding Context to Wide Shots
Short text labels can point out what a wide shot shows, such as a mature garden or a nearby park. Keep them brief and let the footage do most of the work. Use the same style for every label so they read as one system.
How do you add branding and text overlays to a real estate video without overdoing it?
Keep branding quiet. Use neutral colors, small type and the screen corners, so the property stays the focus.
Should real estate videos include captions or text overlays?
Yes. Many people watch with the sound off, and captions also help viewers who are deaf or hard of hearing. Text can also show details the camera misses, such as heated floors. Keep each caption short enough to read at a glance.
Designing subtle lower-thirds for key room features
Use a simple, semi-transparent bar in the bottom corner. This keeps the center of the frame clear and still names the finish or feature. A gentle slide-in looks polished and does not pull attention from the room.
Automating branded overlays with cloud editors
A saved brand kit removes repeat work. In ReelEstate, your colors, logo and font pre-fill each new project, and the live preview shows what the export will look like. Captions can be generated from the voiceover, with each word highlighted as it is spoken.
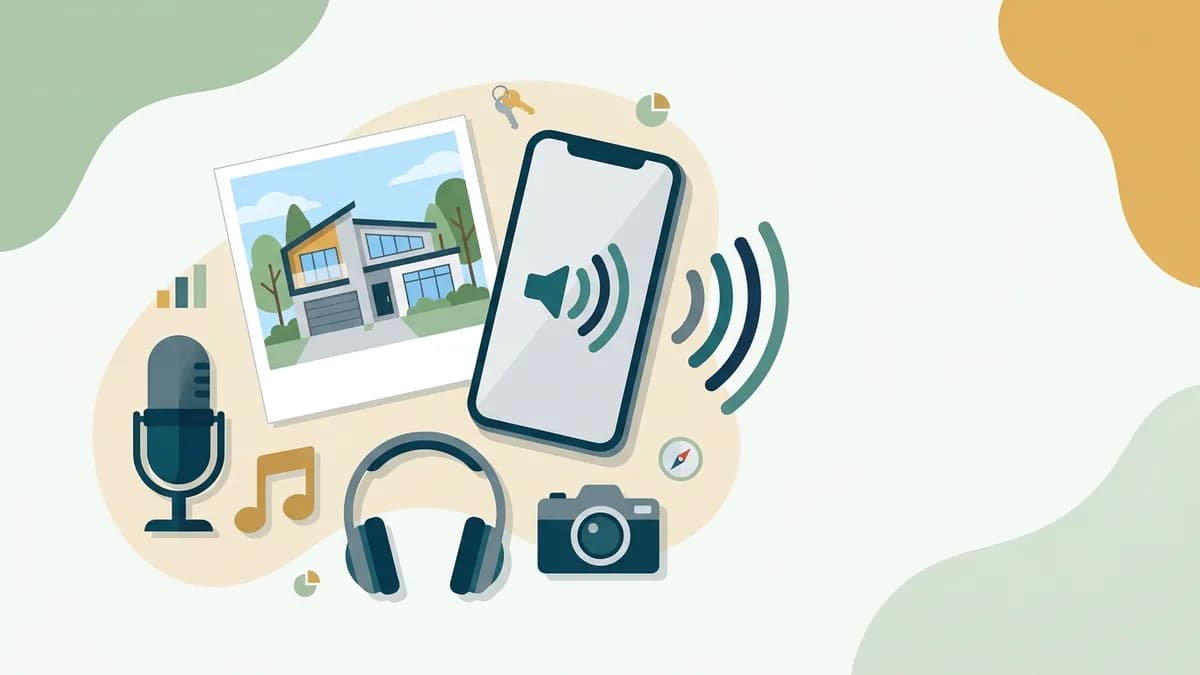
How do you add music and voiceover to a real estate video without making it distracting?
Keep the narration clear and the music in the background. The voice carries the information, while the music sets the mood. Write the script first, since property tour script templates save a lot of guesswork.
Selecting the Right Tempo and Genre for Your Property
Match the music to the home. A historic Tudor suits warm, acoustic sounds, while a downtown loft pairs well with soft electronic beats. Choose a tempo close to a relaxed walking pace, since frantic tracks make spacious rooms feel rushed. Our music guide for real estate videos goes deeper on genres.
Mastering Voiceover and Volume Levels
Many editors set the music well below the voice, often around 15 to 20 dB lower, then adjust by ear on headphones and a phone speaker. Watch the audio waveforms on the timeline to see where each line of narration falls, and line your cuts up with it. If you would rather not record yourself, a natural-sounding voiceover can read your script in a chosen tone and language.
Choosing Music You Can Legally Use
Never use a popular song without a license. Platforms can mute or remove videos that carry unlicensed music. Original music made for your video, or tracks you have cleared, avoids that risk.
What is the best format for real estate videos on Instagram, YouTube, and TikTok?
Use vertical 9:16 for Instagram Reels, YouTube Shorts and TikTok, and horizontal 16:9 for YouTube long-form and your website. YouTube says square or vertical videos up to three minutes long are treated as Shorts, while wider 16:9 uploads are long-form. The right shape stops platforms from cropping your footage or adding black bars.
Optimal Specs for Mobile and Listing Sites
Phones are held upright, so vertical video fills the screen. Export at 1080x1920 pixels for vertical posts. Landscape layouts remain the standard for websites and most listing pages. For more on vertical storytelling, read about vertical video for realtors.
Best Export Settings for Property Videos
Export in MP4 with H.264 video at 1080p. YouTube's own upload recommendations list H.264 in an MP4 container, with 1080p among its standard resolutions. These settings keep materials and finishes sharp. Once the file is ready, automated marketing tools can schedule it across your channels.
What is the best real estate video editing software for busy agents?
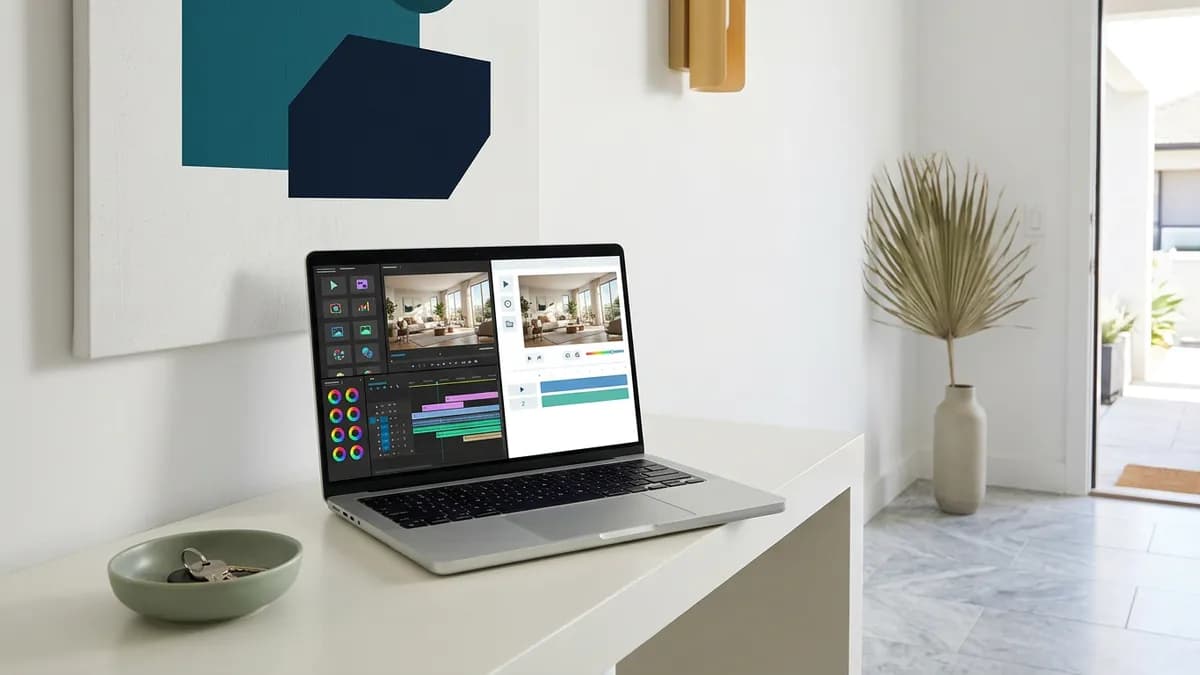
The best choice balances quality with speed. Desktop suites offer deep control, but a web-based editor that handles staging, narration and captions will save the most time for busy agents.
Desktop Programs vs. Automated Web Tools
Desktop editors suit professional videographers who want full control and have the hours to use it. Agents usually benefit more from builders that turn photos and clips into a finished tour with little manual work.
Integrating Staging Inside Your Video Workflow
Staging, exporting and re-importing files costs time. When staging lives next to the timeline, you stay in one place from the first empty room to the final cut. Keep cuts quick, use matching moves between rooms and finish with a simple branded outro.
Choosing Software That Fits Your Routine
Ask three questions. Does it let you stage or fix photos without leaving the project? Does it keep your branding on every video? Can you preview exactly what you will export? If the answer to all three is yes, the tool will probably fit a busy week.
How much does real estate video editing cost, and what should you charge?
Rates vary widely by market, turnaround and how much work a project needs, so there is no single standard price. Get two or three quotes in your area before you set a budget or a fee. Rush delivery usually costs more than a standard schedule, and complex effects add to the bill.
Reducing costs with automated production
Outsourcing every listing adds up, and waiting days for a draft can cost you momentum. Templates and automated builders let you finish a first cut in one sitting. Keep your shots short and the total length modest, and the video will feel fast and polished.
When you are ready to turn staged photos into a branded, narrated tour, join the waitlist.
Frequently Asked Questions
How can you add brokerage branding to a property video without distracting buyers?
Keep branding to a small lower-third with your name and a short outro card with your logo. Pick one font and two or three brand colors, and reuse them on every video. This keeps your credentials clear without covering features such as crown molding or a new kitchen. A saved brand kit, like the one in ReelEstate, applies the same logo, colors and font to each new project.
What are the best video formats and aspect ratios for home tours on social media?
Use vertical 9:16 (1080x1920 pixels) for Instagram Reels, YouTube Shorts and TikTok. Use 16:9 (1920x1080 pixels) for YouTube long-form and most listing sites. Show the best interior feature in the first few seconds of a vertical video rather than a slow exterior pan.
What is the most effective workflow for turning raw property footage into a walkthrough video?
Order your clips like a real visit. Start at the front exterior, move through the main living spaces, and end in the backyard. Trim shaky starts, footsteps and awkward turns so the layout stays in focus. Then add narration or music and captions last, once the cuts are locked.
What is a good length for a real estate listing video?
A tight tour of roughly one to two minutes works for most homes, and a short teaser clip suits social feeds. Check the limits of the site where you will upload, since they vary. Keep each room shot short, and cut anything that does not show a selling point.
Do property videos need captions or text overlays?
Yes, captions are worth adding. Many people scroll with the sound off, and captions also help viewers who are deaf or hard of hearing. Use text overlays for details the camera cannot show, such as heated floors, a new roof or quartz countertops. Keep them short and large enough to read on a phone.